How to Write Better AI Portrait Prompts: 10 Copy-Ready Templates for Beginners
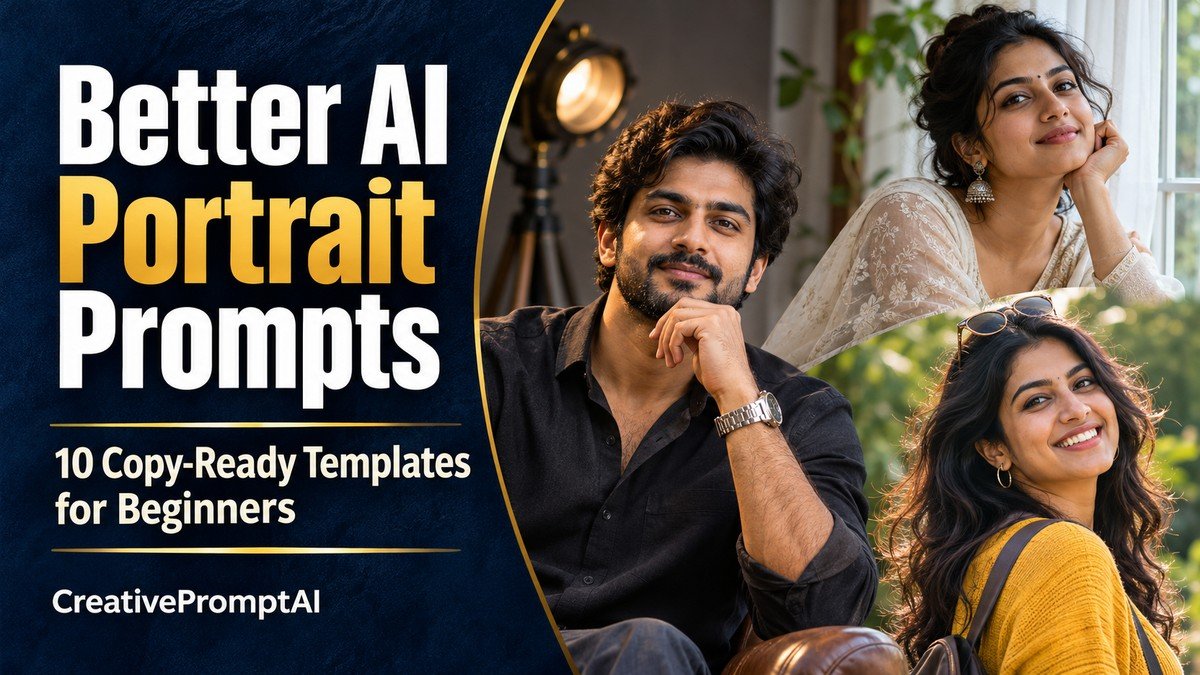
Illustrative cover photograph
When an AI portrait misses your idea, a clearer brief gives you a useful next step. Start with one adult subject, one pose, one setting and one lighting direction. Then change the detail that actually needs attention.
This guide gives you ten copy-ready AI portrait templates that isolate useful decisions: expression, full-body framing, hand placement, pose, background and skin texture. Read the short explanation, compare the illustration and adapt the prompt to your own reference photo or fictional adult subject.
Choose Your Portrait Concept
- 1. Start With a Clear Studio Portrait
- 2. Add One Clear Lighting Direction
- 3. Give the Person a Purposeful Environment
- 4. Describe a Natural Expression
- 5. Make the Full Outfit Visible
- 6. Simplify Hands and Props
- 7. Control a Three-Quarter Pose
- 8. Use a Clean Background
- 9. Preserve Natural Skin Detail
- 10. Build a Calm Outdoor Portrait
How to Use These Human-Focused Prompts
Build the brief in this order: adult subject, clothing, pose, setting, lighting and framing. Add details that affect the picture. These illustrations are separate generations of fictional adults, not a controlled identity-consistency test.
- Choose a look that matches the image you want. Open its View Full Prompt card or select Copy Prompt to copy the entire text.
- Paste it into an image generator. These prompts describe fictional adults; personalize the adult subject, clothing and colors before generating.
- For a portrait of yourself, use an editor with reference-photo support and upload a photo you own or have permission to edit. Replace the fictional description with the identity instruction below.
- Keep the requested 4:5 portrait frame, unless you need a different crop. Generate a first version and check the face, hands, clothing and background.
- Request one focused improvement at a time. Preserve the parts you like instead of rewriting the whole scene for every correction.
Using Your Own Reference Photo
Replace the fictional subject description with: Use the adult person in my uploaded reference photo. Preserve their recognizable facial features, hairstyle, skin tone and natural age while applying the following outfit, scene and visual style. Then retain the rest of your chosen prompt. Reference support and facial consistency vary between image tools.
1. Start With a Clear Studio Portrait
A plain background removes distractions. The first template specifies an adult subject, a pale blue shirt, eye-level framing and soft light. That establishes a useful direction without a complicated scene.
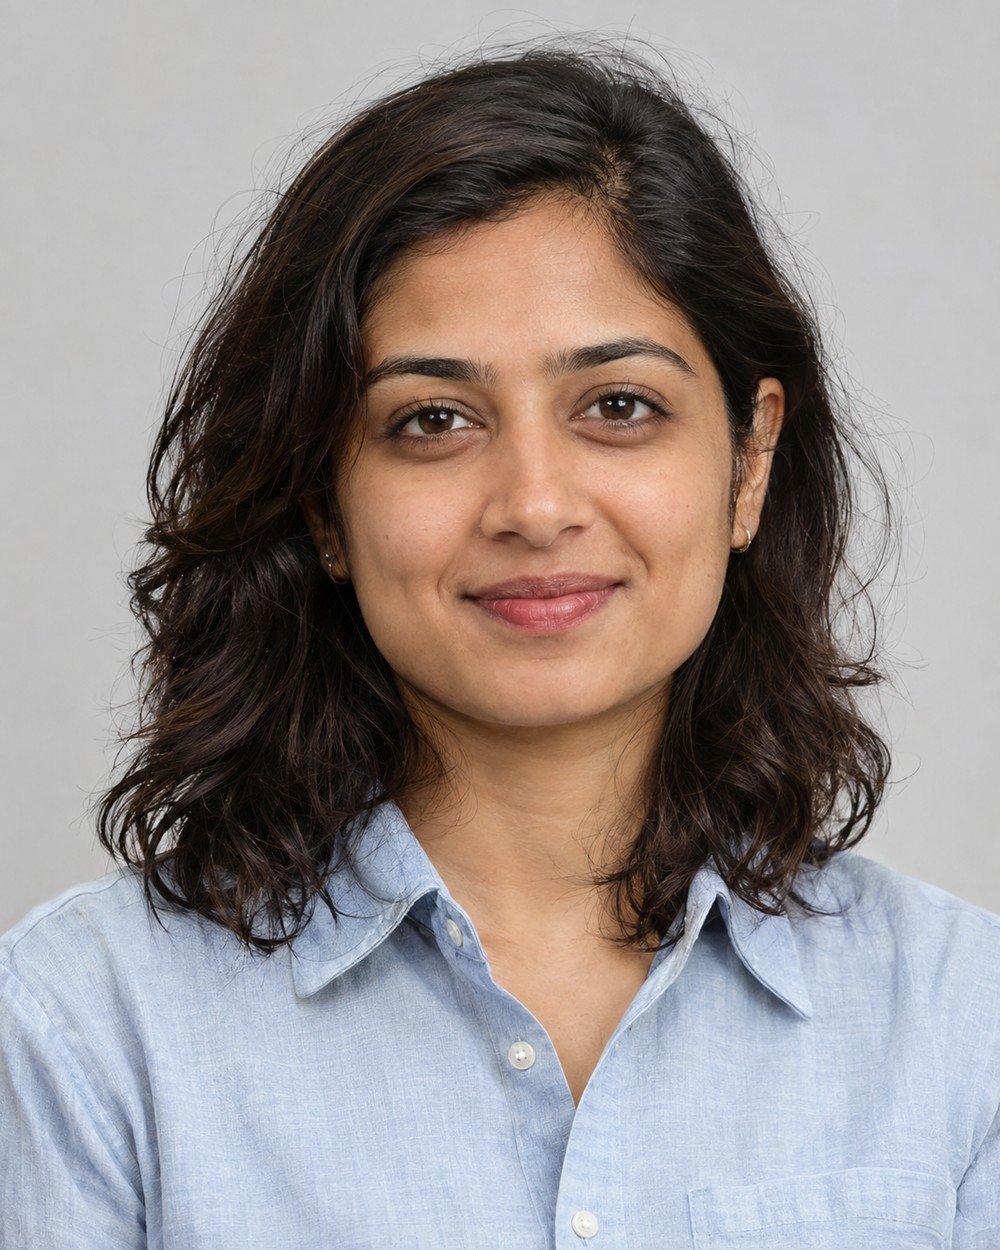
Best for: a simple first portrait with few distractions.
Create a photorealistic studio head-and-shoulders portrait of a fictional adult South Asian woman age 28 with shoulder-length wavy dark hair, warm medium skin and a calm friendly expression. She wears a pale…
Refinement tip: Customize the subject and clothing first. Avoid requesting several expressions, angles or backgrounds in one image.
2. Add One Clear Lighting Direction
The second template introduces a window and gentle shadow. This adds depth while keeping the environment simple enough to describe clearly.
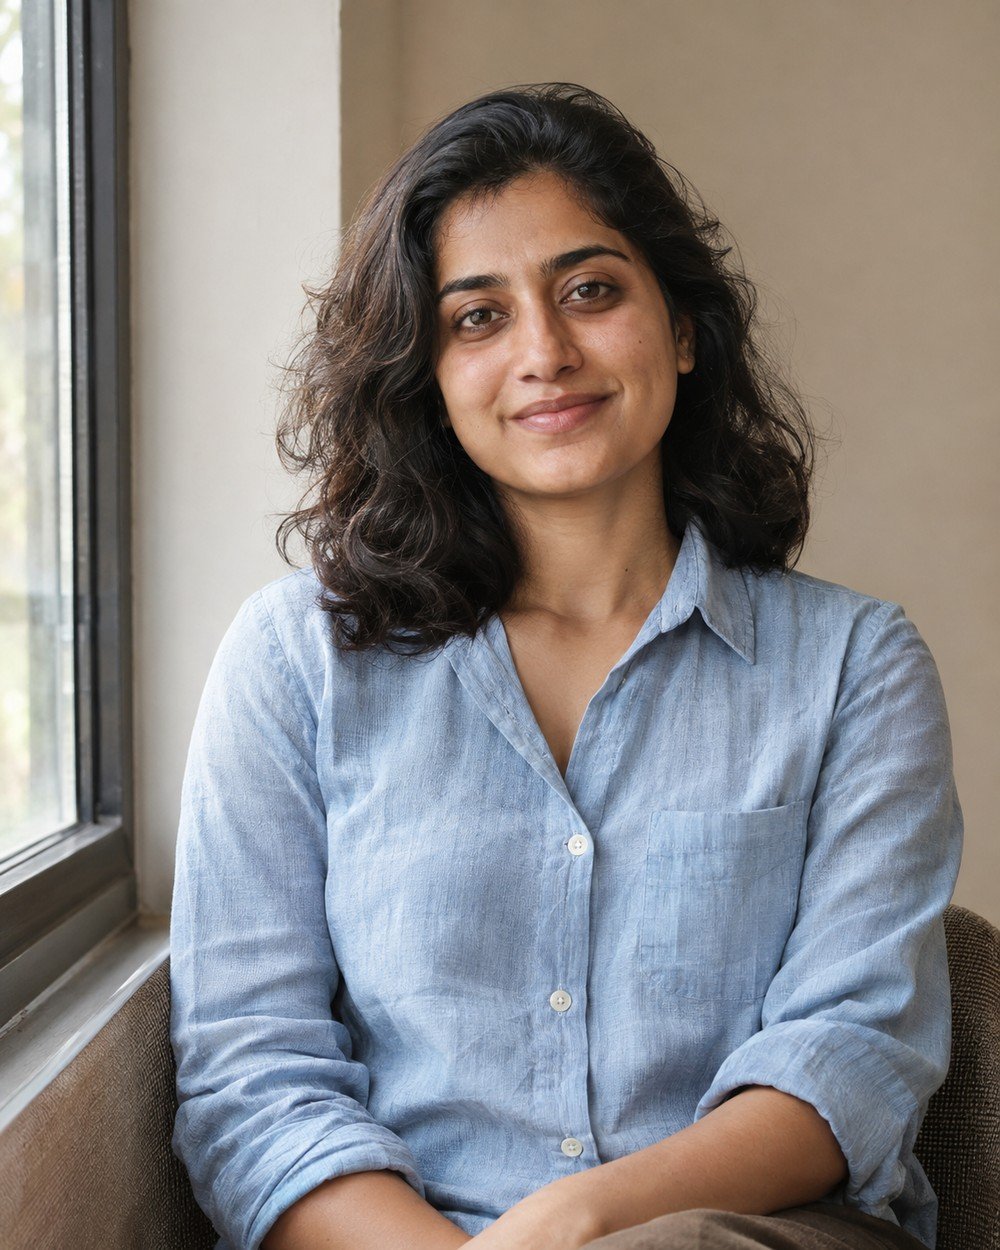
Best for: learning how one lighting direction changes facial depth.
Create a photorealistic waist-up portrait of a fictional adult South Asian woman age 28 with shoulder-length wavy dark hair, warm medium skin and a calm friendly expression. She wears a pale blue…
Refinement tip: If the face becomes too dark, request gentle reflected fill on the shadow side. Keep the light direction instead of adding competing sources.
3. Give the Person a Purposeful Environment
A creative studio and a closed sketchbook suggest a quiet working moment. The environment tells a small story while the person remains central.
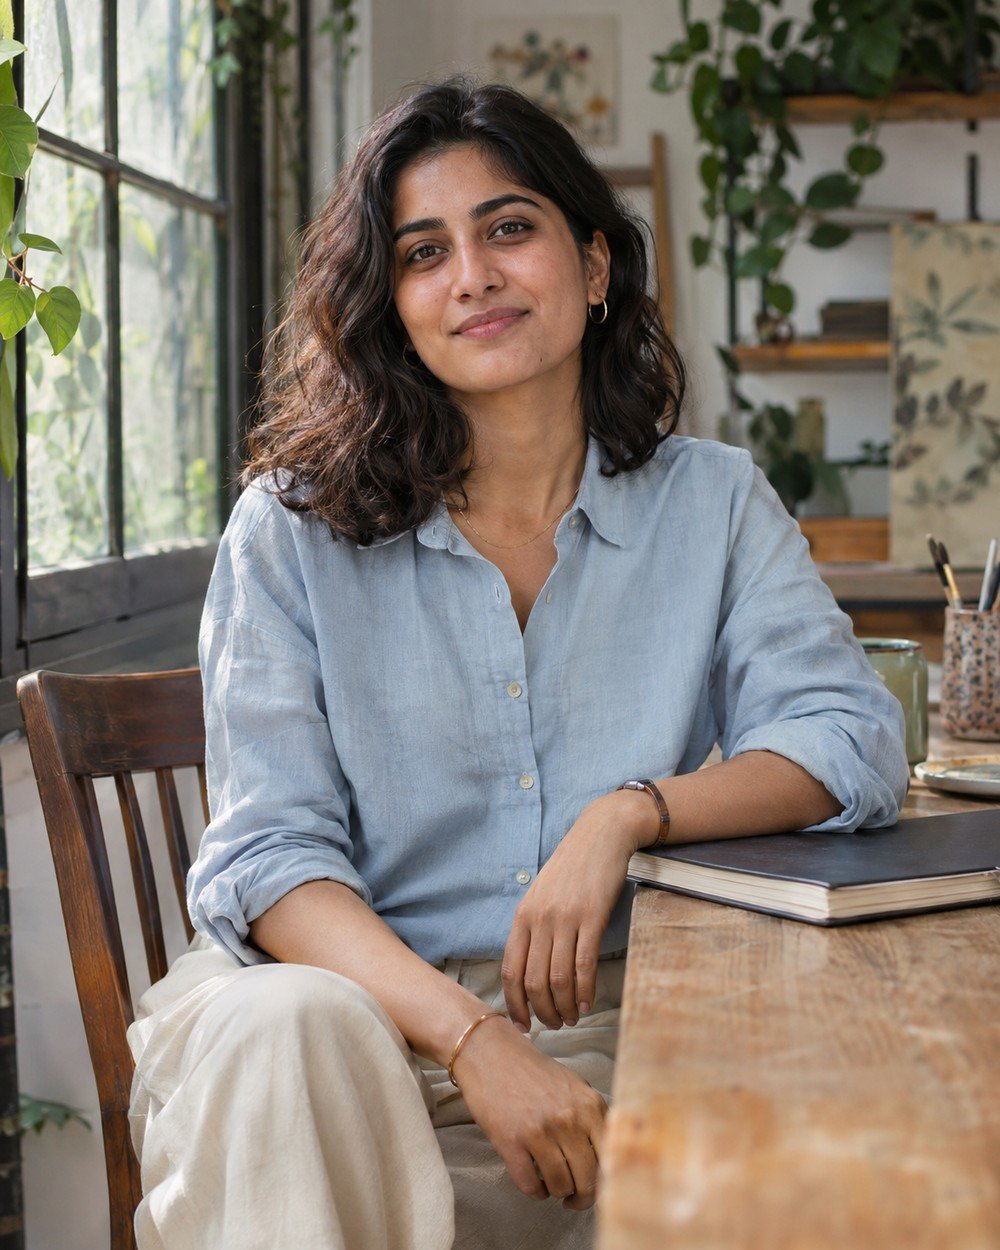
Best for: a lifestyle portrait with a small visual story.
Create a photorealistic environmental portrait of a fictional adult South Asian woman age 28 with shoulder-length wavy dark hair, warm medium skin and a calm friendly expression. She wears a pale blue…
Refinement tip: Hands interacting with props need attention. If the pose looks awkward, remove the sketchbook or request one hand resting flat on the table.
4. Describe a Natural Expression
Expressions are easier to guide when they describe visible facial behavior. A small smile and soft eyes give a clearer instruction than several repeated requests for a happy or perfect face.
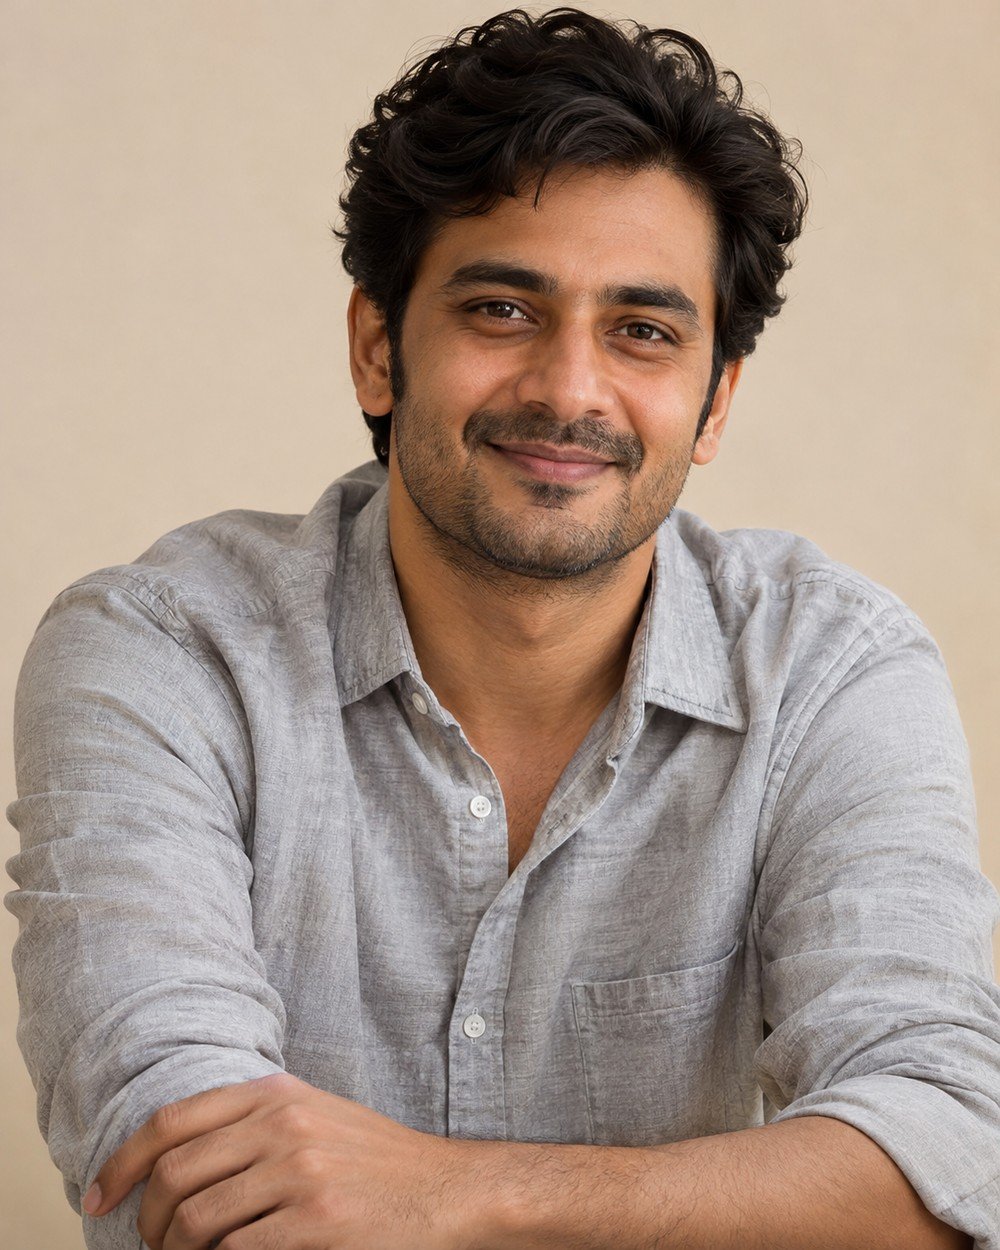
Best for: a friendly expression without a complicated setting.
Create a cinematic photorealistic portrait of a fictional adult South Asian man age 30, short dark wavy hair and subtle stubble, light gray cotton shirt, relaxed head-and-shoulders studio portrait with a small…
Refinement tip: Replace vague happiness with a small smile and relaxed eyes. Avoid asking for several expressions in one frame.
5. Make the Full Outfit Visible
Full-body prompts need explicit framing. Naming the shoes, requesting head-to-toe visibility and leaving a margin around the subject reduces the chance that the intended outfit is lost to a tight portrait crop.
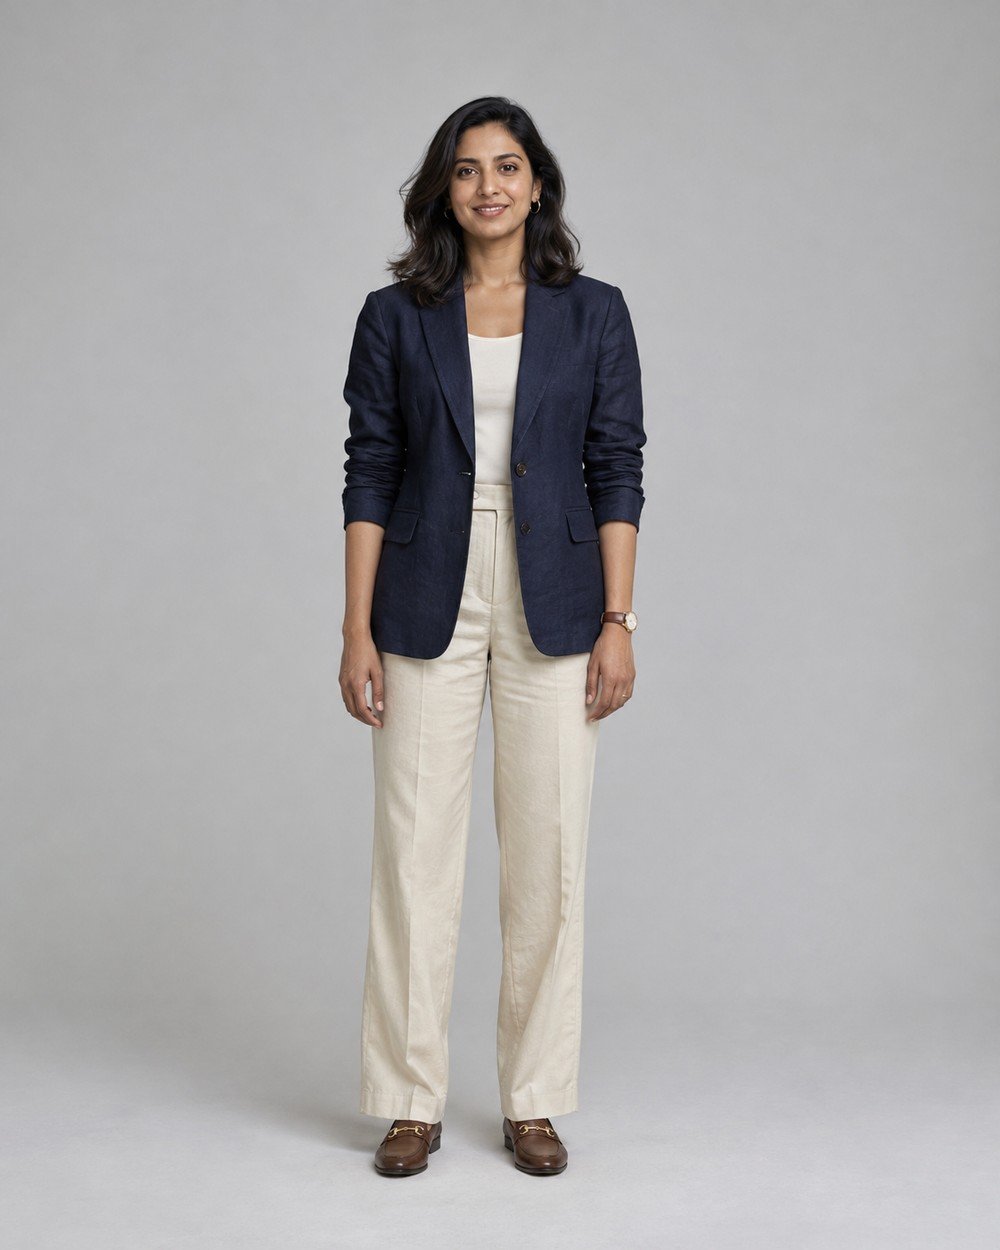
Best for: showing the complete outfit and footwear.
Create a cinematic photorealistic portrait of a fictional adult South Asian woman age 28 with shoulder-length dark hair and warm medium skin, navy linen blazer, cream trousers and brown loafers, standing naturally…
Refinement tip: Full-body means shoes too. Ask for more space around the figure instead of shrinking only the face.
6. Simplify Hands and Props
Hands become easier to assess when there is less interaction to interpret. A simple tabletop and no props give the image generator a clear arrangement and make any finger distortion easier to spot.
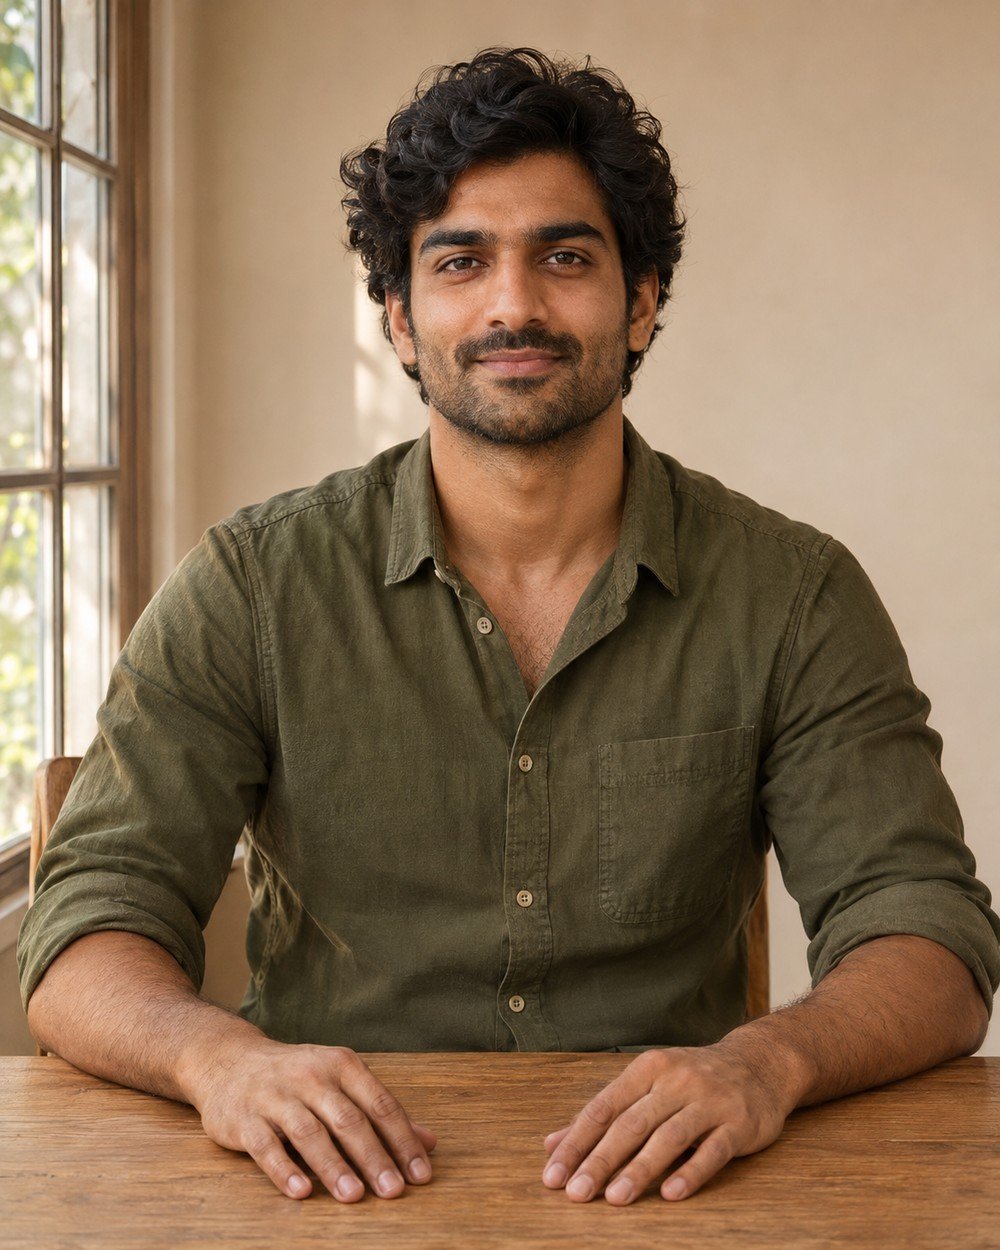
Best for: a seated portrait with easy-to-review hand placement.
Create a cinematic photorealistic portrait of a fictional adult South Asian man age 30, dark wavy hair, warm medium skin, olive cotton shirt, waist-up seated portrait at a simple oak table, both…
Refinement tip: Remove extra objects first. If a hand is still distorted, ask for a localized correction while preserving the face and composition.
7. Control a Three-Quarter Pose
A three-quarter pose combines a gently turned body with a face still oriented toward the viewer. Describing those two directions separately can help avoid an exaggerated neck twist or an unintended side profile.
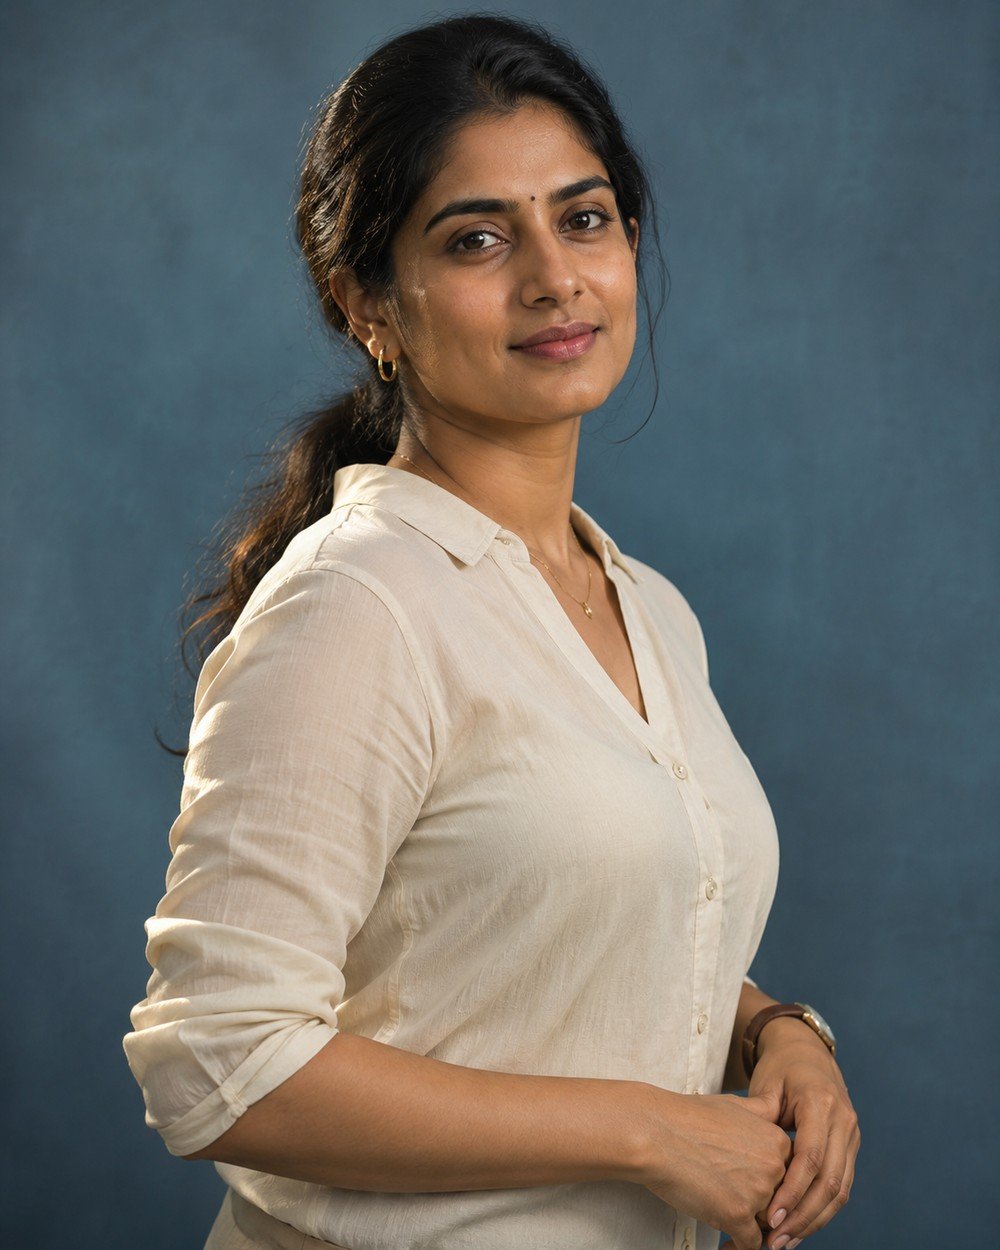
Best for: a gentle three-quarter pose with readable facial features.
Create a cinematic photorealistic portrait of a fictional adult South Asian woman age 30, dark hair in low ponytail, warm brown skin, cream blouse, body turned slightly away with head gently toward…
Refinement tip: Describe the body and head separately. Keep the turn gentle so the neck remains natural.
8. Use a Clean Background
A plain setting is useful when you are refining the subject rather than exploring a location. Removing props helps you focus on expression, clothing, lighting and the balance of the composition.
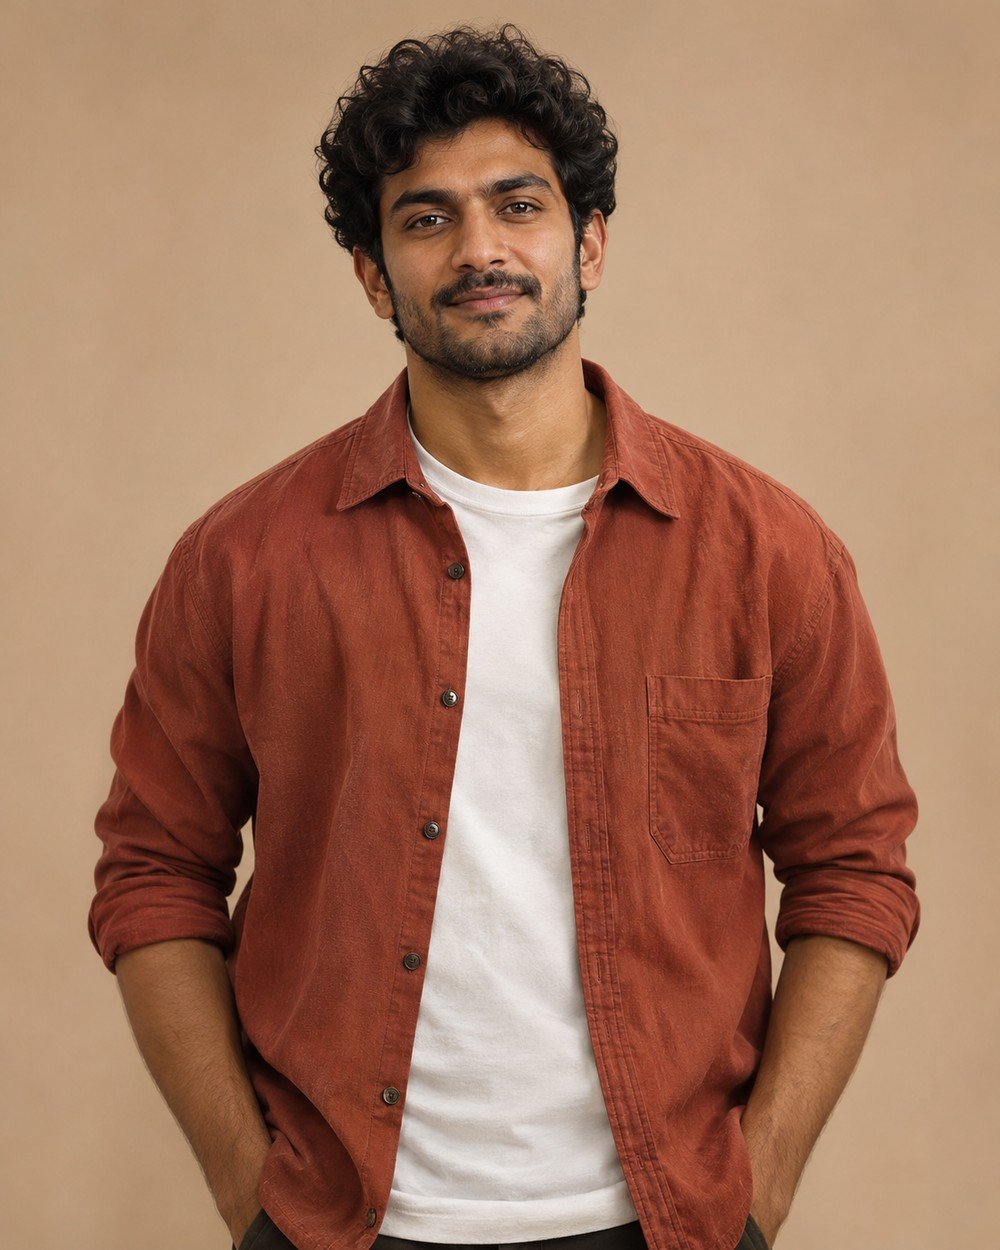
Best for: isolating the subject while refining light or expression.
Create a cinematic photorealistic portrait of a fictional adult South Asian man age 28 with short curly dark hair, terracotta overshirt over white T-shirt, waist-up eye-level portrait in a simple warm beige…
Refinement tip: A clean background helps isolate problems in expression or lighting. Add scenery only after the portrait works.
9. Preserve Natural Skin Detail
Natural skin detail should be visible without being exaggerated. Soft light and restrained grading support facial texture, while a clear request against beauty-filter smoothing keeps the direction focused.
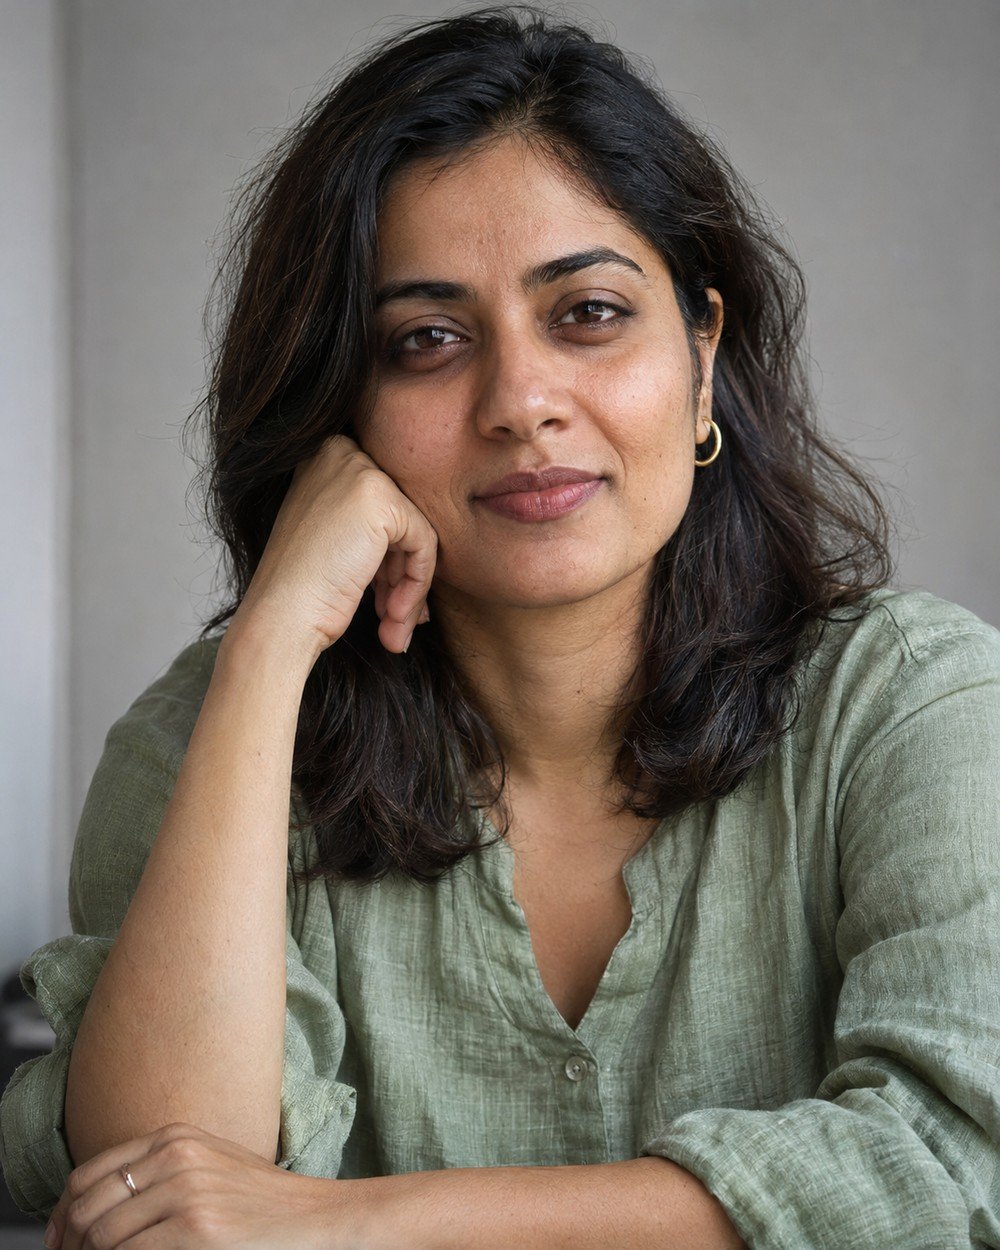
Best for: a close portrait with restrained, natural-looking texture.
Create a cinematic photorealistic portrait of a fictional adult South Asian woman age 30 with dark shoulder-length hair and warm medium skin, sage linen top, close portrait with visible natural pores and…
Refinement tip: Request natural texture without demanding exaggerated pores. Texture should support a believable face rather than look gritty.
10. Build a Calm Outdoor Portrait
A garden portrait does not need sunset effects to feel appealing. Open shade and gentle sky fill create a simple light relationship, making this a useful template when dramatic lighting is producing inconsistent skin tones.
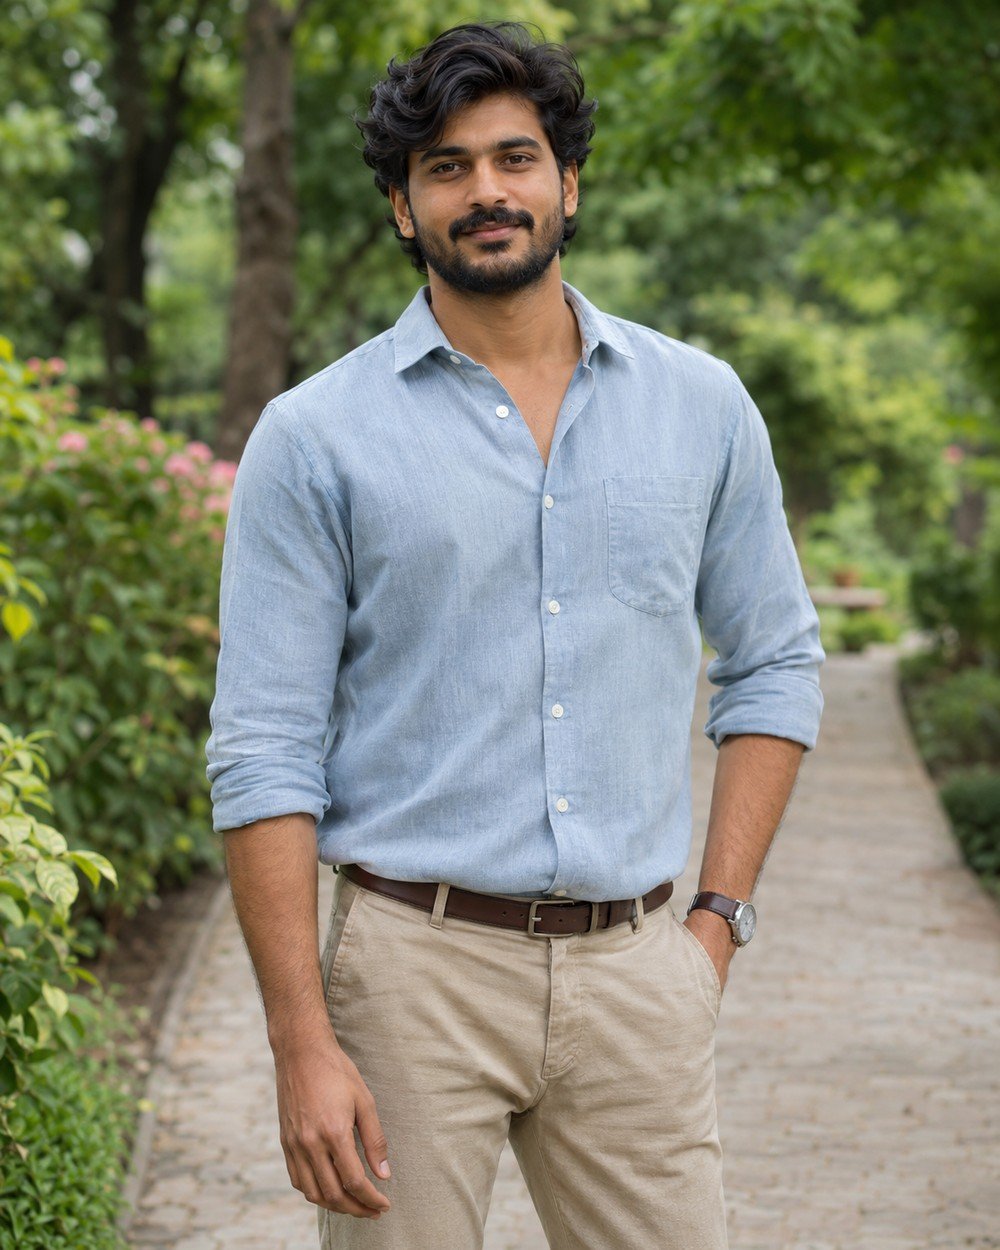
Best for: an outdoor portrait in gentle open-shade light.
Create a cinematic photorealistic portrait of a fictional adult South Asian man age 30, warm brown skin, wavy dark hair, pale blue shirt and beige trousers, standing on a quiet garden path…
Refinement tip: Open shade is a useful alternative to dramatic sunsets. Keep the background simple and check whether the face and surroundings share the same light.
Make the Prompt Your Own
Personalize the details that change the picture: adult subject, outfit, pose, background, lighting and crop. Keep the other instructions stable. For example, replace a cream shirt with a muted blue linen shirt while retaining the same pose and light; then compare the two results before changing the background.
If you use a reference photograph, preserve the identity instruction while changing the creative setting. For a fictional character, replace the adult description with another clear adult subject. Avoid combining several outfits or locations into one request.
Tips for a Better Result
Describe visible decisions
Beautiful and perfect do not define lighting or pose. A relaxed smile, cotton shirt and soft window light give more useful direction.
Avoid contradictory framing
A head-and-shoulders portrait cannot also show shoes and the whole outfit. Pick the crop that supports the main goal.
Refine one issue
Ask to preserve the composition while correcting a hand or softening a shadow. Changing everything makes comparisons harder.
Check the Result Before You Share
Inspect eyes, hands, garment edges, hair and the points where the person touches the scene. Look for duplicated accessories, inconsistent shadows and objects that merge into the body. A small localized correction is often easier to direct than a complete restart. If a pose repeatedly fails, simplify it.
Image Size and Framing
The prompts use a vertical 4:5 ratio. A 1200 × 1500 image is one example at this ratio; available export sizes depend on your tool. For the wide article cover, use 1200 × 675 px (16:9). Leave space around hair, hands and shoes, and avoid placing important details at the outer edges.
Frequently Asked Questions
How long should a prompt be?
There is no single ideal word count. Include important visual decisions, then remove repetition and details that do not change the image.
How do I use my own face?
Upload a reference in a tool that supports it. Replace the fictional description with instructions to preserve the adult person’s recognizable facial features, skin tone and hairstyle. Review likeness afterward.
What ratio should I choose?
A vertical 4:5 frame, such as 1200 × 1500, suits these portraits. Use 16:9, such as 1200 × 675, for a wide article cover.
Why might my image look different from the example?
Image generation is variable. The tool, model, reference photo and wording can all change the result. Use the example as a visual direction, then refine the specific differences you see.
How can I keep the same person across several images?
Use the same reference photo in a reference-capable editor and ask to preserve the adult person’s recognizable facial features, hairstyle and skin tone. Change the scene or outfit one at a time. Exact consistency is not guaranteed.
What should I do if hands or clothing look wrong?
Request a focused correction while preserving the face, pose and scene. Simplify the gesture or remove a prop if the same issue repeats. Review fingers, garment edges and contact with nearby surfaces.
Choose a Portrait Style to Practice
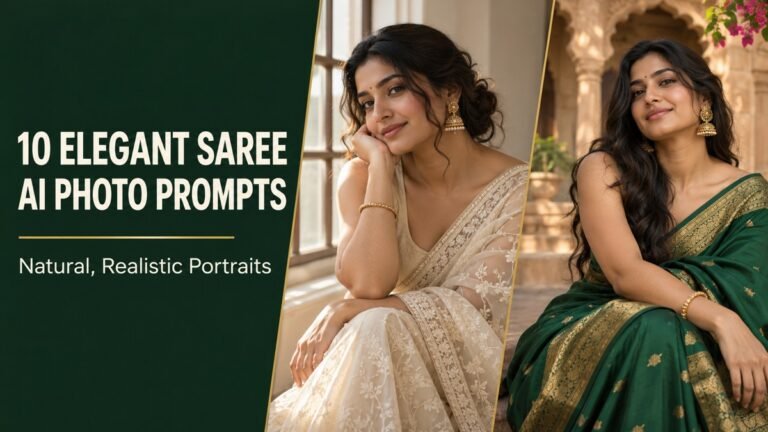
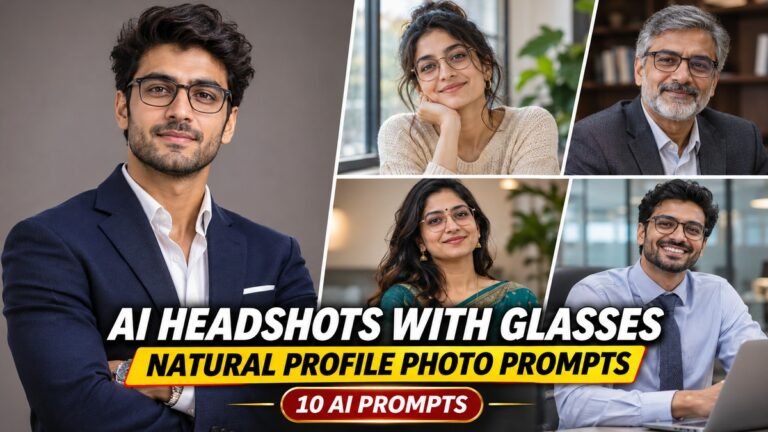
Use the same subject, light and framing structure in one focused collection. For a professional profile image, try our LinkedIn headshot prompts with glasses. For clothing and drape, explore saree portrait prompts or fashion editorial prompts.
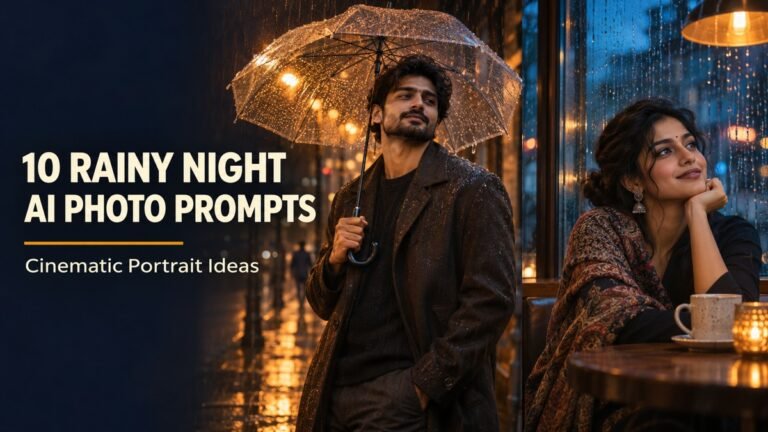
Practice environmental light with golden-hour portrait prompts and rainy-night portrait prompts. To work with two recognizable people, use the at-home couple prompt collection and check each face separately. Choose one scene, generate a version and refine the specific problem you see.
Create Your Own Version
Begin with a simple brief and add a setting only when it serves the portrait. Clear subject, light and framing instructions make the next correction easier to explain.
Explore more ideas in our free AI prompt library. Choose a concept, personalize the details and compare one thoughtful change at a time.
All accompanying examples are AI-generated illustrations. Results may vary between tools and generations.
More Articles
Found a look you like? Explore another creative direction.